Email Deliverability Checklist: 25 Steps Before You Hit Send
TL;DR (Quick Answer)
Email deliverability depends on more than what you write. Before sending a campaign, check your domain authentication, sender reputation, email list, content, and inbox placement. This 25-step checklist covers the essentials, from SPF, DKIM, and DMARC setup to list verification and pre-send testing.
Whether you’re sending cold outreach, newsletters, or transactional emails, deliverability starts long before you click Send. A single issue like a missing DKIM record, poor list hygiene, or a damaged sender reputation can prevent legitimate emails from reaching the inbox.
Use this checklist before every campaign to avoid spam complaints, improve inbox placement, and protect your sender reputation.
Key takeaways
- Start with domain authentication. Configure SPF, DKIM, and DMARC, and check that your DNS records are valid.
- Protect your sender reputation. Warm up new domains gradually, maintain consistent sending volumes, and monitor bounces, spam complaints, and blacklist status.
- Keep your email list clean. Verify addresses, remove duplicates and inactive contacts, and honor unsubscribe requests.
- Review your content before sending. Check subject lines, personalization, links, and the balance of text and images.
- Test every campaign. Check inbox placement, review formatting across devices, and confirm you’re targeting the correct audience before hitting Send.
Free tools to improve email deliverability
Use these free tools on your journey through the checklist to tackle common deliverability issues:
| Tool | What it helps with |
| Spam Words Checker | Review your email content for potentially risky wording. |
| Email Deliverability Test | See whether your emails reach the inbox or spam folder. |
| Email Open Rate Calculator | Check your open rates to see if you have a deliverability issue. |
| Email Blacklist Checker | Run a quick check to see if you’ve been put on any blacklists. |
| SPF Record Generator | Create a valid SPF record for your domain. |
| DMARC Record Generator | Publish a DMARC policy to strengthen authentication. |
Email deliverability checklist
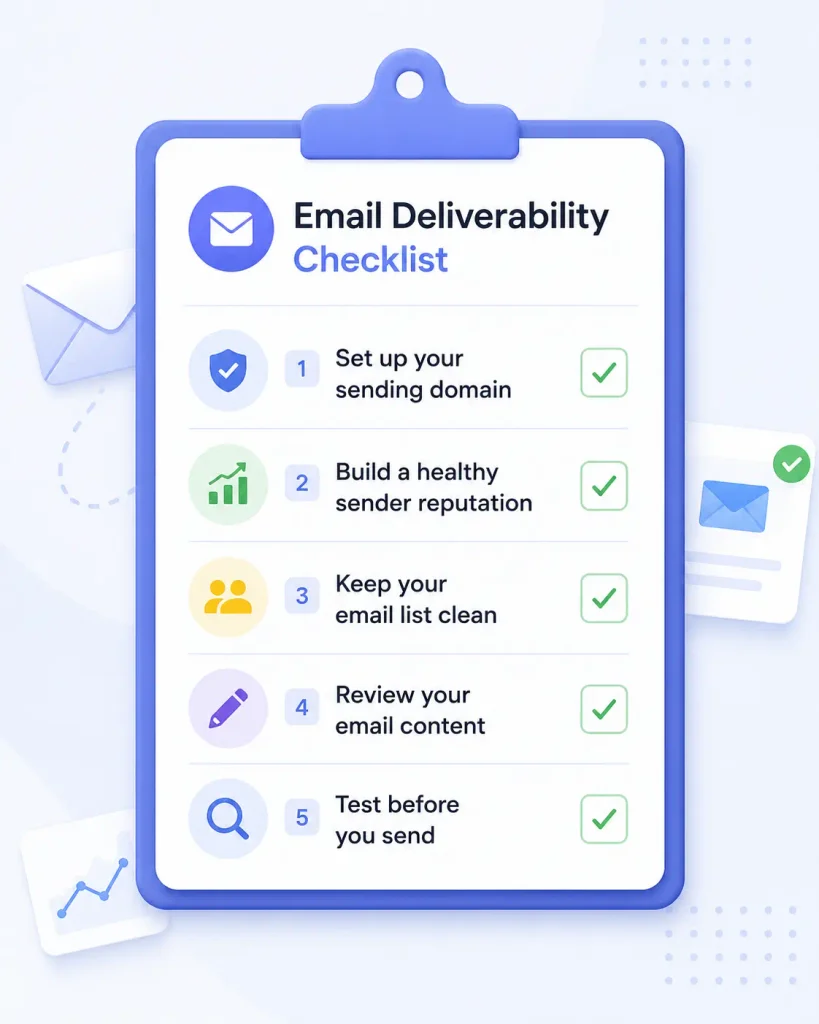
The checklist below follows the same order most email campaigns do, from setting up your domain to reviewing campaign performance after sending. Tick off each step as part of your regular sending process.
1. Set up your sending domain
The first step is making sure mailbox providers can trust your domain. These authentication and DNS settings help verify that your emails are legitimate and haven’t been spoofed.
Configure SPF
SPF tells mailbox providers which servers are authorized to send email on behalf of your domain. Without it, your emails are more likely to be flagged as suspicious.
Enable DKIM
DKIM adds a digital signature to every email, allowing receiving servers to verify that your message hasn’t been modified during delivery.
Publish a DMARC policy
DMARC builds on SPF and DKIM by telling receiving servers what to do when authentication fails. It also gives you valuable reports about abuse and authentication failures.
Use a custom tracking domain
Using your own branded tracking domain instead of a shared one improves consistency and helps build trust with mailbox providers.
Check your DNS records
Review your DNS configuration regularly to confirm all authentication records remain valid after domain or email provider changes.
2. Build a healthy sender reputation
Once your domain is properly configured, focus on building a positive sender reputation. Mailbox providers use your sending history to decide whether future emails belong in the inbox or the spam folder.
Warm up new domains gradually
Don’t send thousands of emails from a brand-new domain. Increase sending volume slowly over several weeks while maintaining good engagement.
Keep sending volume consistent
Large spikes in email volume often trigger additional scrutiny from mailbox providers.
Monitor bounce rates
High bounce rates suggest poor list quality and can damage your sender reputation over time.
Watch spam complaints
Even a small increase in spam complaints can reduce inbox placement. Monitor complaint rates and adjust your campaigns if they begin to rise.
Check blacklist status
Although blacklists are less influential than they once were, appearing on a major blacklist can still affect deliverability.
3. Keep your email list clean
Verify email addresses before sending
Remove invalid or risky addresses before every campaign to reduce hard bounces.
Remove inactive subscribers
Subscribers who never open or click your emails lower overall engagement and may eventually hurt deliverability.
Never buy email lists
Purchased lists typically generate higher bounce rates, spam complaints, and poor engagement.
Remove duplicate contacts
Duplicate records create unnecessary sends and distort campaign metrics.
Honor unsubscribes immediately
Removing opted-out contacts quickly is both good practice and a legal requirement in many jurisdictions.
4. Review your email content
Write a clear subject line
Avoid misleading clickbait or excessive urgency. Your subject line should accurately reflect the email’s content.
Personalize where appropriate
Relevant personalization often improves engagement and makes emails feel less generic.
Avoid excessive spam trigger language
Promotional language alone won’t send your email to spam, but aggressive wording combined with other negative signals can contribute to filtering.
Balance text and images
Emails made up almost entirely of large images may perform worse than emails with a healthy mix of text and visuals.
Check every link
Broken or suspicious links damage trust and can negatively affect both user experience and deliverability.
5. Test before you send
Send yourself a test email
Review formatting, personalization, and links before launching the full campaign.
Test inbox placement
Verify whether your emails reach Gmail, Outlook, Yahoo, and other major providers.
Review spam score
Look for content or formatting issues that could increase filtering risk.
Preview on desktop and mobile
Make sure your email displays correctly across different devices and screen sizes.
Double-check your audience
Confirm you’re sending to the correct segment before launching the campaign.
Common email deliverability mistakes
Even experienced marketers occasionally make mistakes that reduce inbox placement.
Some of the most common include:
- Sending large campaigns from a new domain.
- Skipping SPF, DKIM, or DMARC configuration.
- Sending to outdated or purchased email lists.
- Ignoring bounce rates and spam complaints.
- Using misleading subject lines.
- Never testing inbox placement before sending.
Ready to improve your email deliverability?
You’ve checked the technical setup, reviewed your email list, and optimized your content. The next step is building a healthy sender reputation.
Warm up your domain with Warmup Inbox and send your next campaign with greater
confidence.
What does Warmup Inbox do?
- Improve sender reputation with automated email warm-up.
- Increase the chances of landing in the inbox instead of the spam folder.
- Build trust with mailbox providers before scaling your campaigns.
- Track inbox placement and deliverability over time.
- Monitor your sender reputation through an intuitive dashboard.
- Connect Gmail, Outlook, SMTP, and other popular email providers.
- Customize warm-up settings to match your sending volume and goals.
- Get actionable insights to identify and resolve deliverability issues.
Frequently Asked Questions
What affects email deliverability the most?
The biggest factors are sender reputation, domain authentication (SPF, DKIM, and DMARC), list quality, subscriber engagement, and sending behavior. Email content also plays a role, but it’s only one part of the overall picture.How often should I clean my email list?
Clean your list before every major campaign and remove hard bounces immediately. Regularly suppress inactive subscribers and verify older contact lists to maintain good deliverability.Can I improve email deliverability without changing email providers?
Yes. Most deliverability issues stem from authentication, list hygiene, sender reputation, and sending practices rather than the email platform itself. Improving those areas often leads to better inbox placement without switching providers.


